

How to Layer Different Chain Textures for a Balanced Look
Table of Contents
- The 2:1:1 Rule: A Simple Framework for Mixing Chain Textures
- How to Prevent Layered Necklaces from Tangling
- Best Necklace Lengths for Layering a Balanced Stack
- How to Style Cross Pendants with Chains
- Mixing Chain Textures: Cable, Curb, Rope, Figaro, and Herringbone
- Troubleshooting Common Chain-Layering Problems
- Budget-Friendly vs Investment Layering with Carlotta
- Frequently Asked Questions
Last Updated: September 19, 2026
The 2:1:1 Rule: A Simple Framework for Mixing Chain Textures
Layering different chain textures works best with a simple ratio: two fine chains, one medium, and one bold. This 2:1:1 formula keeps the eye moving without visual clutter.
The trick is contrast with control.
Here's what the 2:1:1 rule looks like in practice:
| Layer | Weight | Example Texture | Role in Stack |
|---|---|---|---|
| 1 | Fine | Cable chain | Base layer |
| 2 | Fine | Box chain | Support layer |
| 3 | Medium | Rope chain | Mid-point |
| 4 | Bold | Curb chain | Focal point |
How to Prevent Layered Necklaces from Tangling
Tangling is a physics problem, not a styling problem. Chains tangle when two or more share the same drop length, link weight, and range of motion. Fix any one variable and most tangles stop; fix all three and they disappear.
Use a Layering Clasp to Keep Chains Separate
A layering clasp (also sold as a necklace separator or multi-strand clasp) is a small fitting with two to six independent loops on one closure. Each chain attaches to its own loop, so the chains share one fastening point but never touch along their length.
Here is the working method:
- Attach each chain to its own loop, shortest chain on the top loop.
- Fasten the clasp at the back of your neck as you would a single necklace.
- Adjust each chain's length so no two chains share a drop point (see spacing rules below).
- Tug each chain gently to confirm it moves independently of the others.
Stagger Chain Weights and Link Sizes
Two chains of identical weight and link size swing at the same frequency and catch constantly. Introduce a weight difference and the heavier chain settles lower while the lighter one floats above it.
Space Layers at Least 2 Inches Apart
The single most effective anti-tangle rule is vertical separation: keep at least 2 inches of drop between adjacent chains. At 1 inch or less, chains overlap and tangle within minutes of normal movement. At 2 inches or more, each chain occupies its own band.
Match the Closure Style to the Chain
Lobster clasps hold heavier chains securely but add bulk. Spring-ring clasps are lighter and easier one-handed but can slip on fine chains. Magnetic clasps are easiest to fasten but least secure for bold chains and are not recommended for anyone with a pacemaker or similar implanted device. For a multi-chain stack, a layering clasp with individual lobster closures per loop gives you lobster security with separator spacing.
Troubleshoot the Tangles That Still Happen
- Two chains always tangle in the same spot. They share a drop length. Move one up or down by at least 2 inches.
- Tangling happens only at the back of the neck. Your clasp is letting chains cross behind you. Switch to a layering clasp.
- Tangling happens only during sleep or exercise. Remove the stack. No clasp prevents tangling under that much motion.
- A fine chain wraps around a heavier one. The weight gap is too large. Move the fine chain up one length or add a middle-weight chain between them.
- Chains tangle only in humid weather. Skin oils and sweat increase friction. Wipe chains with a soft dry cloth after wear and store them flat or hanging, not in a pile.
Best Necklace Lengths for Layering a Balanced Stack
Most layering guides stop at "16, 18, and 20 inches." That's the starting point, not the answer. The lengths that balance a stack depend on three variables: your neckline, your torso length, and the drop point of your shortest chain. Align those three and the stack reads as intentional from across the room.
The Three Anchor Lengths
- 16 inches: Sits at the base of the neck, just above the collarbone on most adults.
- 18 inches: Rests on or just below the collarbone.
- 20 inches: Falls at the top of the chest, above the bust line.
For a fourth layer, 22 to 24 inches drops into the upper chest and works as a pendant length. Beyond 24 inches you're in pendant territory, and the chain competes with your neckline rather than complementing it.

The 2-Inch Minimum Spacing Rule
Keep at least 2 inches of drop between adjacent chains. Less than that and they crowd visually and tangle physically. Two inches is the floor, not the target, three inches reads as more deliberate and gives each texture room to be seen.
Neckline-Specific Layering Guide
Most guides skip this part: your neckline determines where your shortest chain sits, because that chain anchors the whole stack visually.
Adjusting for Torso Length
The 16/18/20 rule assumes an average torso. If you're taller than about 5'8" or have a long neck-to-bust distance, add 1 to 2 inches to every anchor length. If you're shorter than about 5'2" or have a short torso, subtract 1 to 2 inches. The 2-inch minimum spacing stays the same; only the anchors shift.
How to Test the Stack Before You Commit
Put on the top you plan to wear, then hold each chain against your chest at the proposed length before fastening. Look in a mirror from three feet away, the distance most people see you from. If any two chains sit within 2 inches of each other, adjust before fastening. Testing on the body beats a flat surface, because the neckline changes where each chain lands.
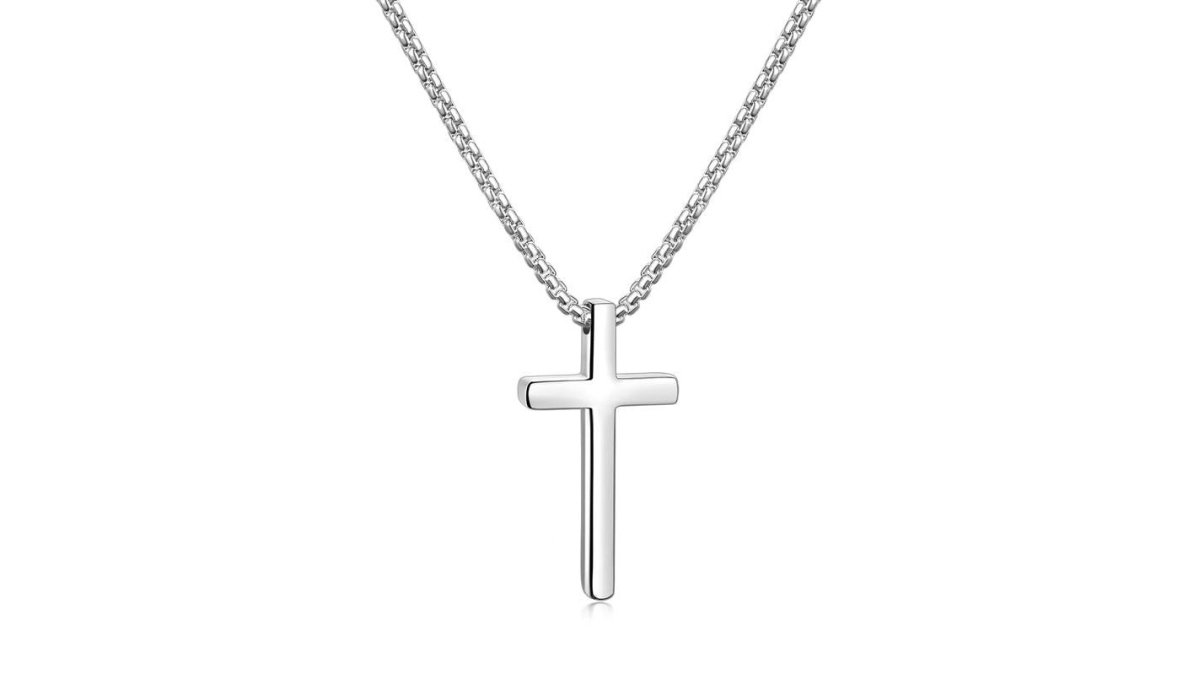
How to Style Cross Pendants with Chains
A cross pendant works best as the focal point of your stack. Give it the boldest chain and the longest length. Everything above it should support, not compete.

Follow these steps:
- Choose a cross pendant as your statement piece
- Pair it with a medium or bold chain at 20 inches
- Add one or two fine chains above it
- Keep the upper chains free of pendants
Mixing Chain Textures: Cable, Curb, Rope, Figaro, and Herringbone
Each chain texture brings a different quality to your stack. Cable chains are smooth and simple. Curb chains have flat, interlocking links. Rope chains twist like their namesake. Figaro chains alternate link patterns. Herringbone chains lie flat and catch light.
| Texture | Look | Best Layer Position |
|---|---|---|
| Cable | Smooth, classic | Base layer |
| Curb | Flat, bold links | Focal point |
| Rope | Twisted, dimensional | Middle layer |
| Figaro | Patterned, varied | Middle layer |
| Herringbone | Flat, reflective | Statement layer |
Matte vs Shiny and Smooth vs Textured Finishes
Finish matters as much as link shape. A matte chain absorbs light; a shiny chain reflects it. Mixing both adds interest without bulk.
Troubleshooting Common Chain-Layering Problems
Most layering problems have simple fixes. Here are the most common.
- Check metal consistency first
- Adjust lengths before adding or removing chains
- Test the stack in natural light
- Give each chain room to move on its own
Budget-Friendly vs Investment Layering with Carlotta
You don't need to buy everything at once. Start with two chains that contrast in texture. Add a third when you know what's missing.
The smart approach:
- Buy one fine chain and one bold chain first
- Wear them together for a week
- Notice what feels missing
- Add a middle layer that fills the gap
Frequently Asked Questions
What is the 2:1:1 rule in jewelry layering?
The 2:1:1 rule is a simple guideline for balancing chain textures: use two delicate or fine chains, one medium-weight chain, and one bold statement chain. This ratio creates visual interest without overwhelming the neckline. For example, pair two thin cable chains with a medium curb chain and a bold herringbone chain. It works because the eye reads the mix as intentional rather than cluttered.
How do you prevent layered chains from tangling?
Use a layering clasp with multiple loops to keep each chain on its own attachment point, which stops them from twisting together. Also vary chain weights and link sizes: a thin rope chain next to a thick curb chain is less likely to catch than two identical fine chains. Stagger lengths by at least 1 to 2 inches so the chains rest at different points on your chest.
What are the best chain lengths for a balanced stack?
Start with a choker or 16-inch chain at the base, then add an 18-inch chain, and finish with a 20-inch or 22-inch chain. This spacing of 2 inches between each layer prevents overlap and lets each texture show. If you have a longer torso, you can go up to 24 inches for the longest layer. The goal is a gradual cascade rather than a clump.
How do you mix different chain textures without looking cluttered?
Limit yourself to three or four chains total, and make sure each one has a different texture: for instance, a smooth box chain, a twisted rope chain, and a flat herringbone chain. Keep metal consistency (all gold or all silver) to unify the look. Also, vary the scale: pair a dainty chain with a bold one so they contrast instead of compete.
Building a balanced layered look takes practice, but the rules are simple: contrast your textures, stagger your lengths, and keep your metals consistent. Carlotta makes it easy to start with cross-themed pieces and fine chains that layer well together. Shop the collection during seasonal offers and save up to 30% on your favorites. Get started with Carlotta and build a stack that looks intentional from day one.